
How Can Lenticular Printing Bring Static Images to Life?
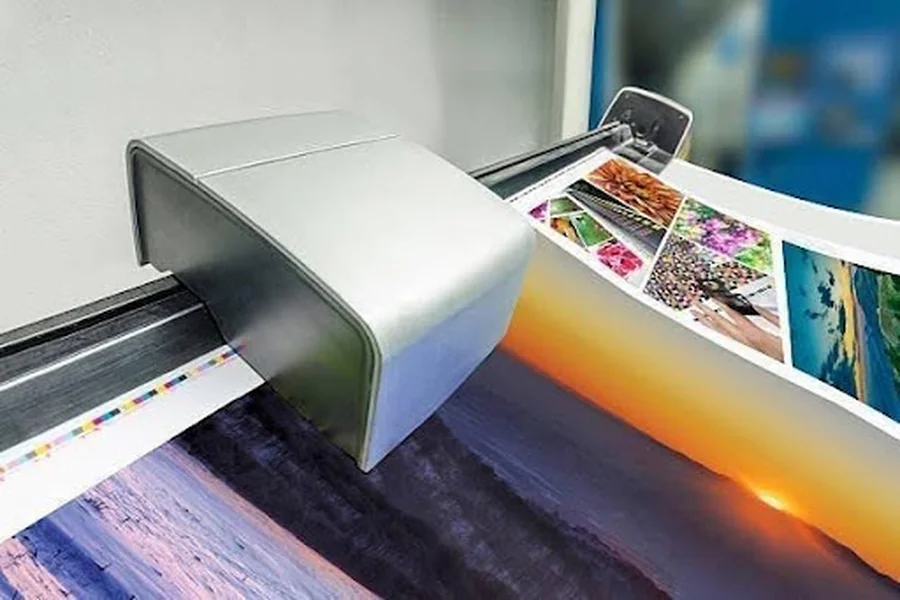
A photograph or a graphic generally looks the same no matter where the viewer stands. Lenticular printing changes that by building movement and viewing angles into the image itself.
A specially designed lens reveals different parts of an interlaced image depending on the viewing angle, creating effects like motion, image changes, depth, and even animation. As a result, the print responds when viewers walk past it or tilt it.
These effects make lenticular printing useful in many settings, from handheld items to posters, signage, packaging, and large-format prints. By combining several frames, a designer can control how the image behaves.
Here are six ways lenticular printing can bring static images to life, adding movement, depth, transformation, and interaction without a digital screen.
1. Add Movement to Printed Images
A set of still images can turn into something far more dynamic once it goes through the lenticular printing process. Rather than showing every frame at once, the artwork gets interlaced, so different frames appear as the viewer moves. That can make an object look like it’s sliding across the image, or make an action seem to play out.
Motion designs can use several frames to show one continuous action. For the best results, keep the background consistent across frames and hold the movement steady as it progresses. The best lenticular printing services pair stationary elements with moving ones to give the eye a reference point, so the animation reads more clearly.
2. Create the Illusion of Three-Dimensional Depth
Depth is another way lenticular technology reshapes how users see a flat image. Instead of treating the artwork as a single surface, you can split a 3D composition into multiple layers. Those layers sit at different visual distances from one another.
The result is a parallax shift. When viewers move their heads or walk past the artwork, objects seem to slide past one another, creating a sense of depth. A 3D lenticular design can use as many as 15 layers of depth, and the focal layer often carries key elements such as text or other central features.
3. Make One Image Change into Another
Not every lenticular effect needs a continuous series of motion frames. A flip effect can take two separate images and swap between them as the viewer changes position.
Say the first view shows one subject and the second reveals another. You can use that transition to set up visual contrasts, show two stages of a concept, or present related imagery in one physical piece. The same idea works on posters, signage, postcards, book covers, and other formats.
For fixed displays, the lenses are usually oriented vertically, so the image changes as viewers walk from side to side. Handheld pieces use a different orientation, since the viewer tends to tilt the item instead.
4. Create Zoom and Morph Effects
Lenticular effects can also make an image seem to change scale or morph from one subject into another. Zoom effects suggest an object moving closer or pulling away, while morphing creates a transition between different visual forms.
You don’t need to supply every in-between frame for a zoom sequence. Designers can start with just the first and last frames and build the stages in between. That way, motion and zoom effects can show change over time without a video screen.
These techniques really shine when the change itself drives the visual idea. Rather than showing one finished state, the artwork can reveal how something develops or transforms.
5. Turn Viewer Movement into Part of the Experience
With conventional artwork, you can walk from one side to the other and barely change what you see. Lenticular displays make that movement matter because the viewing angle decides which part of the interlaced image shows up.
This means the audience doesn’t just study the finished artwork from one fixed spot. Walking past a poster can reveal different frames, and tilting a handheld piece can shift the image. In effect, the viewer’s movement becomes part of how the display works.
Since vertical lenses suit side-to-side viewing, designers need to consider where the display will be placed early in the design process.
6. Combine Multiple Frames into a Single Visual Sequence
One lenticular image can hold a carefully arranged sequence instead of a single isolated picture. To create a short animation or progression, you can interlace several frames so viewers can see it unfold from different angles.
However, more frames aren’t necessarily better. It’s best to use as few frames as possible to show the action, because too many can cause ghosting, where parts of other images show through. A uniform background also makes transitions smoother.
Keeping sequences short lets designers use multiple images without overwhelming the viewer. A short, well-planned sequence shows the movement better than a long one packed with frames.
Wrapping Up
Lenticular printing adds dimension to static images by building movement, depth, transformation, and viewing position into the artwork. Flip effects switch between images, 3D designs create spatial depth, and motion, zoom, and morphing effects suggest change over time.
With careful planning of the frames, backgrounds, lens direction, and viewing conditions, a physical print can deliver the movement and depth people usually expect from digital media while remaining a physical display.