
Step-by-Step Guide to Installing A Residential Sauna in Utah
Is a home sauna the next step toward a more relaxing routine at home? Many households in Utah value heat therapy for relaxation, muscle relief, and quiet reflection. A well planned installation supports comfort and long term performance. Careful preparation makes the process smooth and efficient from start to finish.
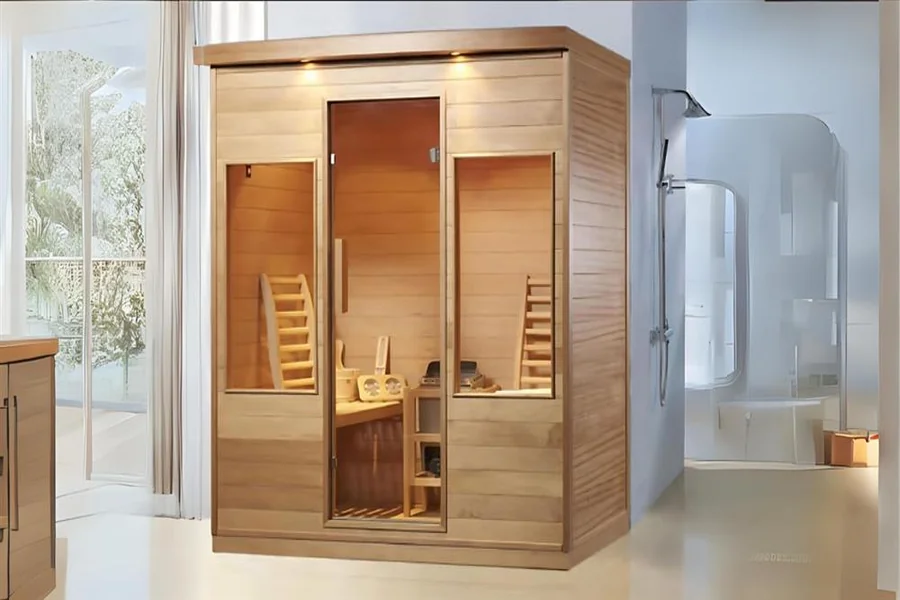
Step 1: Choose the Right Sauna Type
The first step is deciding which model suits the space and health goals. Traditional steam units use heated rocks and water to create high temperatures and humidity. Infrared models rely on radiant heat that may help improve circulation at lower temperatures. Interest in saunas in Utah has grown as residents compare these options for home use.
Climate also plays a role in the decision, as Utah winters can be cold, so insulation and heater strength matter. Indoor models work well in basements or spare rooms, while outdoor cabins fit patios and backyards. Reviewing room size and electrical capacity helps narrow the selection.
Step 2: Select the Ideal Location
Location affects comfort, safety, and efficiency. A flat and stable surface provides proper support for the structure. Access to power supply and ventilation is essential for steady performance. Many homeowners choose areas near bathrooms or showers for convenience.
Moisture control is important during planning. Basements may need vapor barriers or improved airflow to prevent condensation buildup. Outdoor placements require weather resistant materials that handle Utah heat and snow. Thoughtful placement helps extend the life of the sauna and supports safe use.
Step 3: Prepare Electrical and Structural Setup
Most residential units require a dedicated electrical line. Consulting a licensed electrician ensures compliance with Utah building codes. Proper wiring supports heater output and reduces strain on household circuits. This step should be completed before final assembly.
Key Preparation Checklist
Before installation begins, review these essentials:
- Confirm voltage requirements match household supply
- Verify floor strength and level surface
- Ensure proper ventilation path
- Check local permit rules
Clear preparation reduces delays and helps prevent costly adjustments later. Accurate measurements and code checks protect the investment and keep the project on schedule.
Step 4: Assemble the Sauna Unit
Pre-fabricated kits simplify the process for many Utah homes. Wall panels typically lock together with minimal tools. Heater placement follows manufacturer guidelines for safe distance from benches and walls. Careful alignment prevents gaps that could affect heat retention.
Door seals and glass panels require close attention during assembly. A tight seal keeps warmth consistent and reduces energy waste. Interior benches should sit level to provide stable seating. After setup, test the heater to confirm a steady temperature rise.
Step 5: Plan for Long-Term Care
Routine care keeps performance steady over time. Wipe down benches after each session to maintain cleanliness. Occasional inspection of heater elements helps detect wear early. Simple maintenance aids to preserve wood quality and structural strength.
Utah’s climate shifts between dry heat and cold winters. Seasonal checks help maintain insulation and exterior finish. Outdoor units may need light resealing to protect wood from sun exposure. Consistent care supports reliable heat therapy year after year.
Installing a home sauna involves clear planning, proper setup, and regular upkeep. Many residents interested in saunas in Utah begin with careful research and measured preparation. Thoughtful decisions about location, power, and materials help create a space that supports relaxation and recovery. A steady approach from selection to maintenance allows the sauna to remain a valued part of wellness routines across Utah.